To create safe and slip-resistant epoxy flooring, apply specially formulated coatings with anti-slip additives to enhance traction. It also helps maintain durability and a smooth, professional finish. This flooring type combines strength, visual appeal, and enhanced traction. These make it ideal for high-traffic commercial, industrial, and residential areas.
In New Jersey, the demand for epoxy flooring has risen by over 30% since 2021, driven by the state's growing focus on workplace safety and modern interior upgrades (NJ Business Magazine, 2024). These floors not only meet OSHA safety standards but also resist heavy foot traffic, chemicals, and moisture, ensuring long-lasting performance. With proper installation and maintenance, slip-resistant epoxy flooring offers a practical way to enhance both safety and design. It helps create spaces that are secure, professional, and easy to maintain.
What is Slip-Resistant Epoxy Flooring?
Slip-resistant epoxy flooring is a specially formulated surface designed to reduce the risk of slips and falls by incorporating textured aggregates or anti-slip coatings into durable epoxy resin. It is created by blending epoxy resin with textured materials such as quartz, sand, or aluminum oxide to provide enhanced traction and grip. This type of flooring forms a seamless, non-porous layer that resists chemicals, moisture, and heavy wear while maintaining a polished appearance. Ideal for high-traffic and safety-sensitive areas, slip-resistant epoxy flooring combines functionality, durability, and aesthetic appeal to create a secure and long-lasting surface solution.
Why People Choose Slip-Resistant Epoxy Flooring?
People choose slip-resistant epoxy flooring because it offers a perfect balance of safety, strength, and style. Its textured surface reduces the risk of slips and falls, making it ideal for areas exposed to moisture, spills, or heavy foot traffic. Beyond safety, epoxy flooring is known for its durability, resisting abrasions, chemicals, and impact damage better than traditional flooring materials. It also provides a sleek, seamless finish that enhances the overall appearance of any space while being easy to clean and maintain. For both residential and commercial settings, slip-resistant epoxy flooring delivers long-term value and peace of mind.
What are The Risks of Slippery Surfaces?
The risks of slippery surfaces include increased chances of accidents, injuries, and workplace hazards that compromise both safety and productivity. These risks are especially concerning in areas with frequent spills, moisture, or heavy traffic.
Here are the risks of slippery surfaces;
- Slip and fall accidents, leading to fractures, sprains, or head injuries.
- Reduced workplace efficiency due to safety concerns or downtime.
- Legal liabilities and compensation claims from injured individuals.
- Damage to business reputation from preventable safety incidents.
- Higher maintenance costs from frequent repairs or replacements after accidents.
What Materials and Tools are Needed to Make Slip-Resistant Epoxy Flooring?
The materials and tools needed to make slip-resistant epoxy flooring include specialized resins, aggregates, and application equipment that ensure a durable, textured, and long-lasting finish. Each component plays a vital role in enhancing surface traction, chemical resistance, and overall appearance. Proper preparation and quality materials are vital for achieving a professional, safe, and seamless result.
Here are the key materials and tools required for creating slip-resistant epoxy flooring:
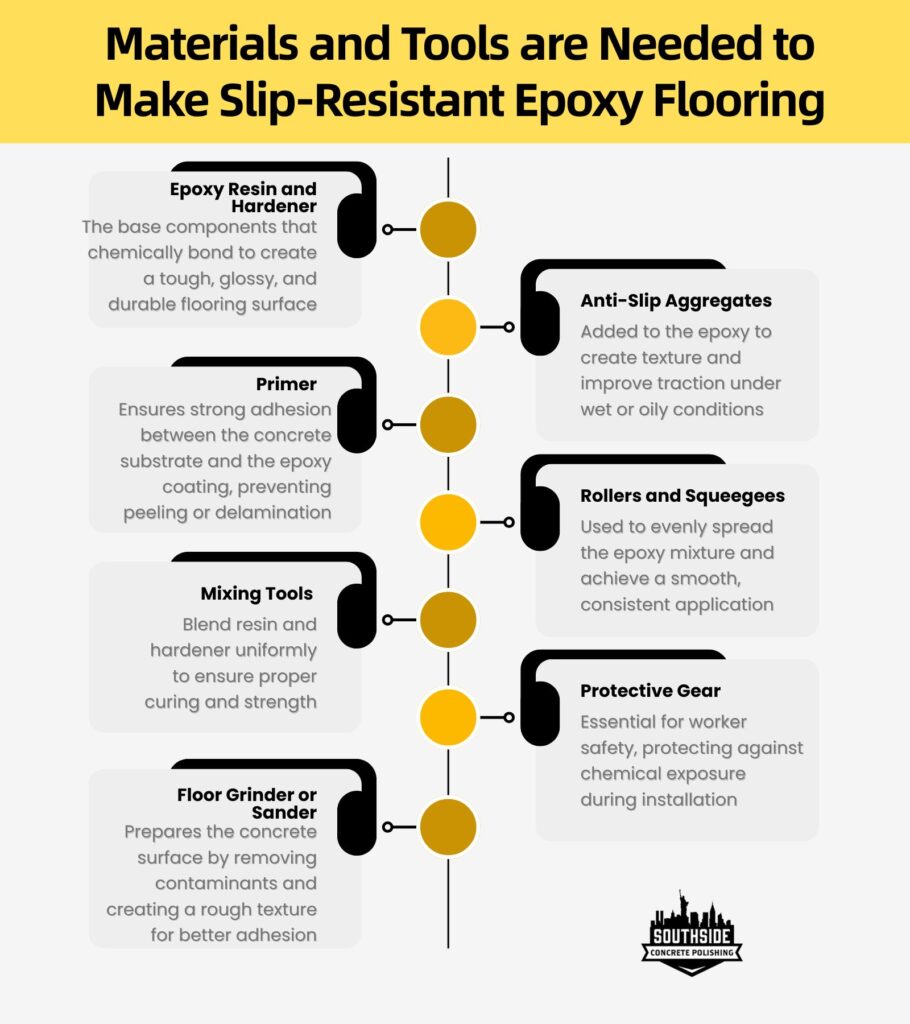
- Epoxy Resin and Hardener: The base components that chemically bond to create a tough, glossy, and durable flooring surface.
- Anti-Slip Aggregates (Quartz, Silica Sand, Aluminum Oxide): Added to the epoxy to create texture and improve traction under wet or oily conditions.
- Primer: Ensures strong adhesion between the concrete substrate and the epoxy coating, preventing peeling or delamination.
- Rollers and Squeegees: Used to evenly spread the epoxy mixture and achieve a smooth, consistent application.
- Mixing Tools (Drill with Paddle Attachment): Blend resin and hardener uniformly to ensure proper curing and strength.
- Protective Gear (Gloves, Goggles, Respirator): Essential for worker safety, protecting against chemical exposure during installation.
- Floor Grinder or Sander: Prepares the concrete surface by removing contaminants and creating a rough texture for better adhesion.
What are the Common Mistakes in Applying Slip-Resistant Epoxy Flooring?
The common mistakes in applying slip-resistant epoxy flooring include improper surface preparation, incorrect mixing ratios, and uneven application techniques that can weaken the floor's durability and safety. These errors lead to poor adhesion, bubbles, or uneven texture, reducing the effectiveness of the slip-resistant finish. Understanding these mistakes is essential to ensure a professional, long-lasting, and secure flooring installation.
Here are the most frequent mistakes to avoid when applying slip-resistant epoxy flooring:
- Inadequate Surface Preparation: Failing to clean, dry, or grind the concrete properly prevents the epoxy from bonding securely, causing peeling or delamination over time.
- Incorrect Mixing Ratios: Not following the precise resin-to-hardener ratio result in incomplete curing, leaving the surface soft or sticky.
- Uneven Distribution of Aggregates: Applying anti-slip materials inconsistently leads to patchy textures, reducing traction in certain areas and compromising safety.
- Applying Epoxy in Humid or Cold Conditions: Excess moisture or low temperatures can interfere with curing, leading to bubbling, cloudiness, or surface defects.
- Rushing the Application Process: Skipping drying times between coats or overworking the epoxy trap air or create streaks, affecting both appearance and performance.
What is the Step-by-Step Process of Making Slip-Resistant Epoxy Flooring?
The step-by-step process of making slip-resistant epoxy flooring includes careful surface preparation, precise mixing, and proper layering to ensure durability and safety. Each phase plays a vital role in achieving a textured, long-lasting finish that resists wear and prevents slips. By following the correct procedure and using quality materials, you can create a professional-grade floor that combines strength, functionality, and aesthetic appeal.
Follow these steps in order to achieve a durable, safe, and attractive slip-resistant epoxy floor.
Clean the Surface Thoroughly
Remove oil, grease, dirt, paint, and any loose material. Use a degreaser and power wash or scrub; allow the concrete to dry completely before proceeding.
Repair Cracks and Imperfections
Fill cracks, chips, and spalls with a suitable epoxy patch or concrete repair mortar. Smooth and level repaired areas so the topcoat will lay flat and bond evenly.
Etch or Grind the Concrete (If Necessary)
Mechanically grind or acid-etch the slab to open the concrete pores and create a profile for adhesion. Grinding is preferred for the best, dust-controlled results and to remove weak surface laitance.
Apply a Primer for Maximum Adhesion
Roll or squeegee on an epoxy primer designed for concrete to seal and promote bonding. Allow the primer to tack up as the manufacturer directs before moving to the next step.
Inspect the Floor
Check that the surface is clean, dry, and that repairs and primer are cured. Correct any missed contamination, blisters, or uneven areas before continuing.
Gather Your Materials and Tools
Assemble epoxy resin and hardener, non-skid aggregates, mixers, rollers, squeegees, brushes, respirator, gloves, and floor grinders. Having everything staged reduces delays and prevents working past epoxy pot life.
Mix the Epoxy Properly
Combine resin and hardener at the exact ratio specified and mix thoroughly with a drill and paddle. Scrape sides and mix long enough to avoid uncured or soft patches, but avoid over-mixing which introduces excess air.
Cut in the Edges
Use a brush to apply epoxy around walls, columns, and transitions first. This "cutting in" makes it easier to achieve a clean edge when rolling the main field.
Apply the First Coat Evenly
Use a squeegee to spread the epoxy and a roller to finish uniformly, maintaining wet-edge technique. Work in manageable sections to keep a consistent thickness and appearance.
Remove Air Bubbles
Pass a spiked roller or a short nap roller over the wet epoxy to release entrapped air. This prevents pinholes and improves the final surface integrity.
Allow the Epoxy to Cure
Let the first coat cure for the time specified by the manufacturer---temperature and humidity affect cure time. Do not rush the next steps or walk on the surface before the recommended cure.
Lightly Sand the Surface (Optional)
If needed, scuff sand the first coat to improve mechanical bond for the next layer and to remove minor imperfections. Vacuum and tack-wipe thoroughly after sanding.
Apply the Second Coat with the Non-Skid Additive
Broadcast or sprinkle the chosen aggregate into the wet second coat (or mix small amounts into the topcoat) to achieve the desired texture. Ensure even distribution---excessive aggregate creates maintenance issues, too little reduces traction.
Let the Final Coat Cure Completely
Allow full cure time as per product data (often 24--72 hours for foot traffic, longer for heavy use). Maintain recommended temperature and humidity during cure for best results.
Perform a Final Inspection
Check coverage, texture consistency, edges, and adhesion. Address any missed spots and document cure times before returning the area to service.
What are the Benefits of Slip-Resistant Epoxy Flooring?
The benefits of slip-resistant epoxy flooring include promoting safety, compliance, and trust within any environment. By minimizing accident risks and meeting industry standards, this flooring solution contributes to both operational efficiency and public confidence. Its impact goes beyond functionality, supporting a culture of care and responsibility.
Here are some additional key benefits of slip-resistant epoxy flooring:
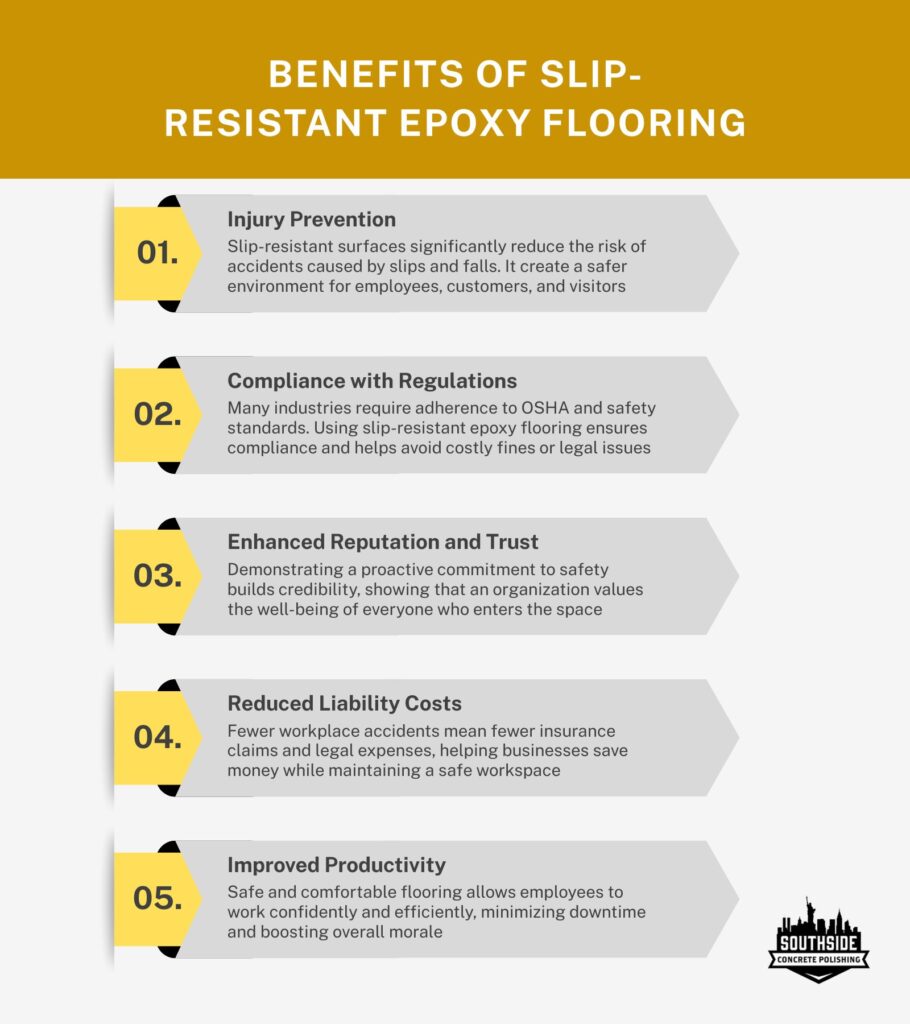
- Injury Prevention: Slip-resistant surfaces significantly reduce the risk of accidents caused by slips and falls. It create a safer environment for employees, customers, and visitors.
- Compliance with Regulations: Many industries require adherence to OSHA and safety standards. Using slip-resistant epoxy flooring ensures compliance and helps avoid costly fines or legal issues.
- Enhanced Reputation and Trust: Demonstrating a proactive commitment to safety builds credibility, showing that an organization values the well-being of everyone who enters the space.
- Reduced Liability Costs: Fewer workplace accidents mean fewer insurance claims and legal expenses, helping businesses save money while maintaining a safe workspace.
- Improved Productivity: Safe and comfortable flooring allows employees to work confidently and efficiently, minimizing downtime and boosting overall morale.
What makes epoxy flooring slip-resistant?
Slip-resistant epoxy flooring is made by adding textured materials, such as silica sand, aluminum oxide, or quartz, to the epoxy coating. These epoxy flooring additives create surface traction, reducing the risk of slips and falls even in wet or oily conditions.
Is slip-resistant epoxy flooring suitable for both commercial and residential spaces?
Yes, slip-resistant epoxy flooring is suitable for both commercial and residential spaces. It's ideal for a wide range of environments, including warehouses, garages, kitchens, hospitals, showrooms, and residential basements, anywhere safety and durability are priorities.
How long does slip-resistant epoxy flooring last?
Slip-resistant epoxy flooring lasts 10 to 20 years or more, with proper installation and maintenance. Longevity depends on factors like traffic levels, cleaning habits, and environmental conditions.
Can concrete engraving improve the slip resistance of epoxy floors?
Yes, concrete engraving improves the slip resistance of epoxy floors. Concrete engraving is used to create textured patterns on the floor before applying epoxy, which enhances traction and reduces the risk of slipping. When combined with anti-slip epoxy additives or coatings, concrete engraving provides both safety and a visually appealing design.
Can we make epoxy-coated concrete slip-resistant?
Yes, we can make epoxy-coated concrete slip-resistant by adding traction enhancers such as aluminum oxide, silica sand, or polymer grit into the coating. While standard epoxy creates a smooth, glossy surface, these additives help increase grip and ensure the epoxy-coated concrete is safer for areas prone to moisture or heavy foot traffic.